Acurite Weather Station Mounting Guide: Tips and Techniques for Optimal Installation

# Acurite Weather Station Mounting Guide: Tips and Techniques for Optimal Installation
Mounting your Acurite weather station correctly is crucial for obtaining accurate and reliable weather data. Whether you’re a weather enthusiast or simply want to monitor local conditions, proper installation ensures your device functions at its best. This guide will walk you through the essential tips and techniques for mounting your Acurite weather station effectively.
## Choosing the Right Location
The first step in mounting your Acurite weather station is selecting an optimal location. The placement of your weather station significantly impacts the accuracy of its readings. Here are some key considerations:
– **Avoid Obstructions:** Ensure the area is free from tall buildings, trees, or other structures that could block wind or sunlight.
– **Elevation:** Mount the station at least 5 feet above the ground to avoid ground interference and ensure accurate temperature and humidity readings.
– **Sun Exposure:** Place the station in an area that receives consistent sunlight for accurate solar radiation and UV index measurements.
– **Wind Flow:** Choose a location with unobstructed airflow to capture precise wind speed and direction data.
## Mounting Options for Your Acurite Weather Station
Acurite weather stations come with various mounting options to suit different environments. Below are the most common methods:
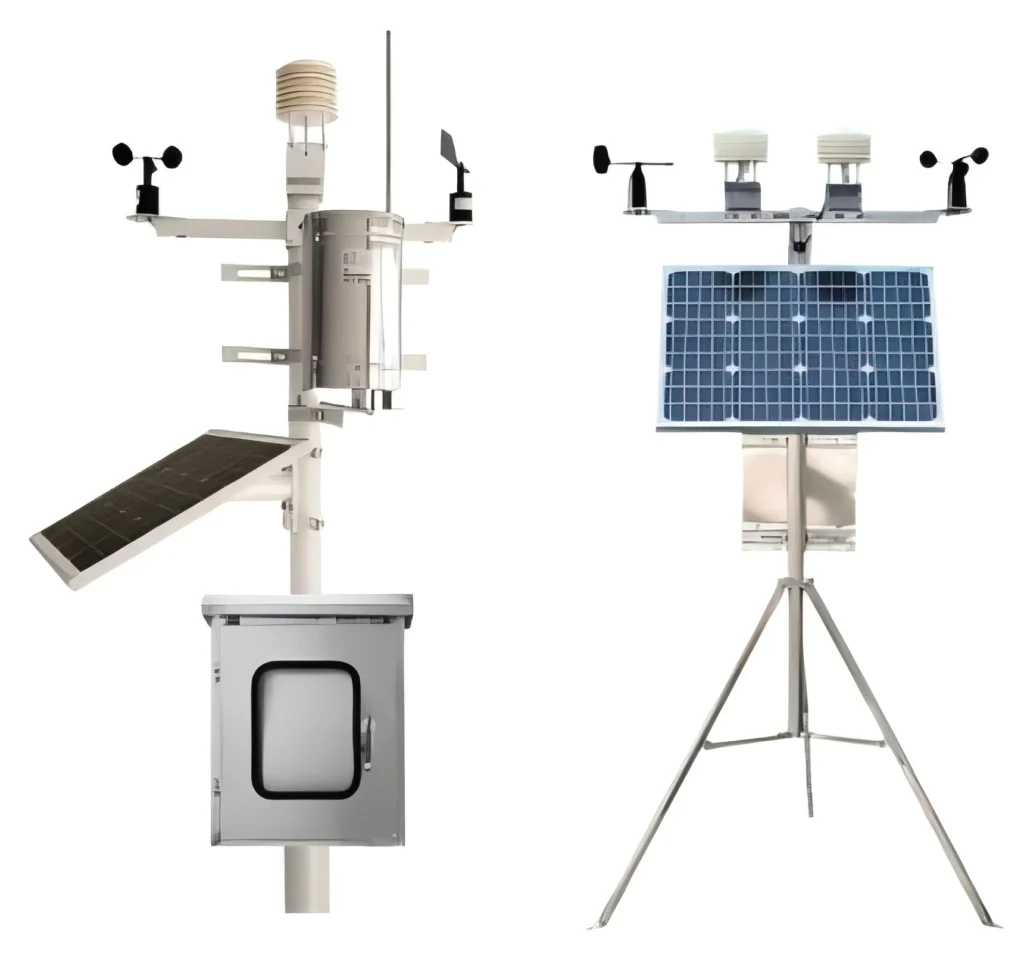
### 1. Pole Mounting
Pole mounting is a popular choice for securing your weather station. Use a sturdy pole, such as a metal or PVC pipe, and ensure it is securely anchored into the ground or a stable surface. Attach the weather station to the pole using the provided mounting bracket.
### 2. Wall Mounting
If you prefer mounting your weather station on a wall, choose a flat and stable surface. Ensure the wall is free from heat sources, such as vents or direct sunlight, which could skew temperature readings. Use the included screws and anchors to secure the station firmly.
### 3. Roof Mounting
For those with limited ground space, roof mounting is an excellent option. However, ensure the roof is easily accessible for maintenance and that the station is positioned away from chimneys or other heat-emitting structures.
### 4. Tripod Mounting
Tripods offer flexibility and portability, making them ideal for temporary installations or testing different locations. Ensure the tripod is stable and placed on a flat surface to prevent tipping.
## Tools and Materials Needed
Before starting the installation, gather the necessary tools and materials:
– Screwdriver or drill
– Mounting bracket (included with your Acurite weather station)
– Screws and anchors
– Level (to ensure the station is mounted straight)
– Measuring tape
– Ladder (if mounting on a roof or high wall)
## Step-by-Step Installation Guide
Follow these steps to mount your Acurite weather station:
1. **Assemble the Mounting Bracket:** Attach the bracket to the weather station using the provided screws.
2. **Mark the Mounting Location:** Use a pencil to mark the spots where you’ll drill holes for the screws.
3. **Drill Holes:** Carefully drill holes at the marked locations, ensuring they are the correct size for the screws.
4. **Secure the Bracket:** Attach the bracket to the pole, wall, or roof using screws and anchors.
5. **Attach the Weather Station:** Place the weather station onto the bracket and secure it tightly.
6. **Check Alignment:** Use a level to ensure the station is mounted straight.
7. **Test the Station:** Power on the device and verify that it is functioning correctly.
## Maintenance Tips
Once your Acurite weather station is installed, regular maintenance is essential to keep it in top condition:
– **Clean the Sensors:** Periodically wipe the sensors to remove dirt, dust, or debris that could affect readings.
– **Check for Damage:** Inspect the station and mounting hardware for signs of wear or damage.
– **Battery Replacement:** Replace
Keyword: acurite weather station mounting